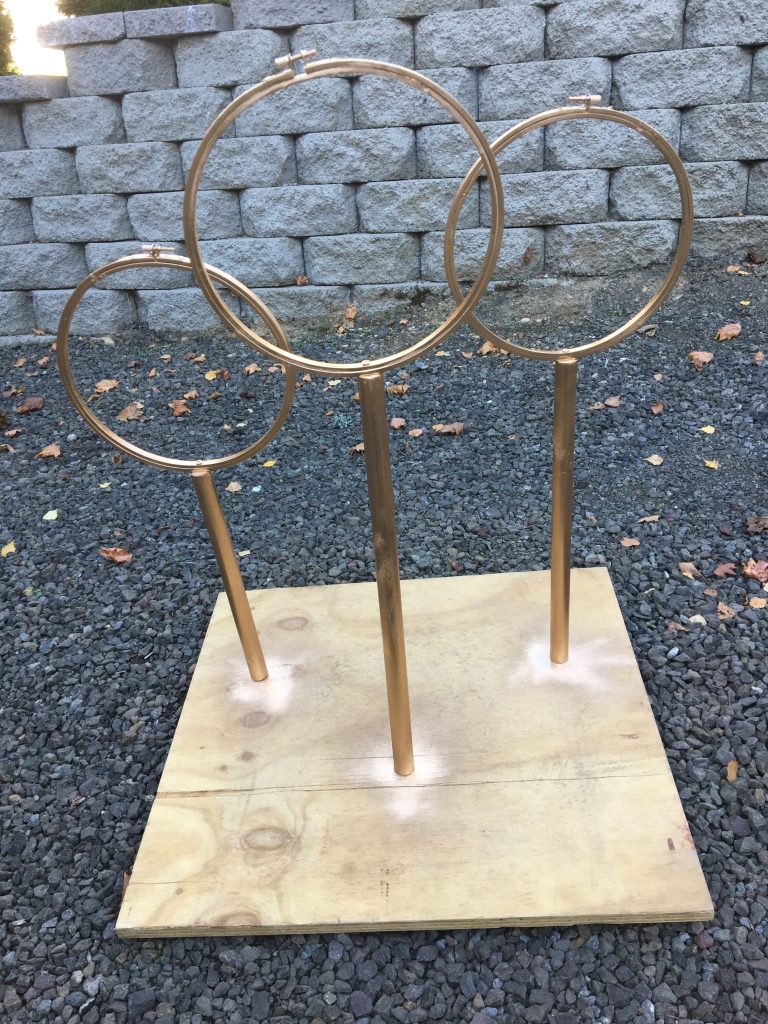
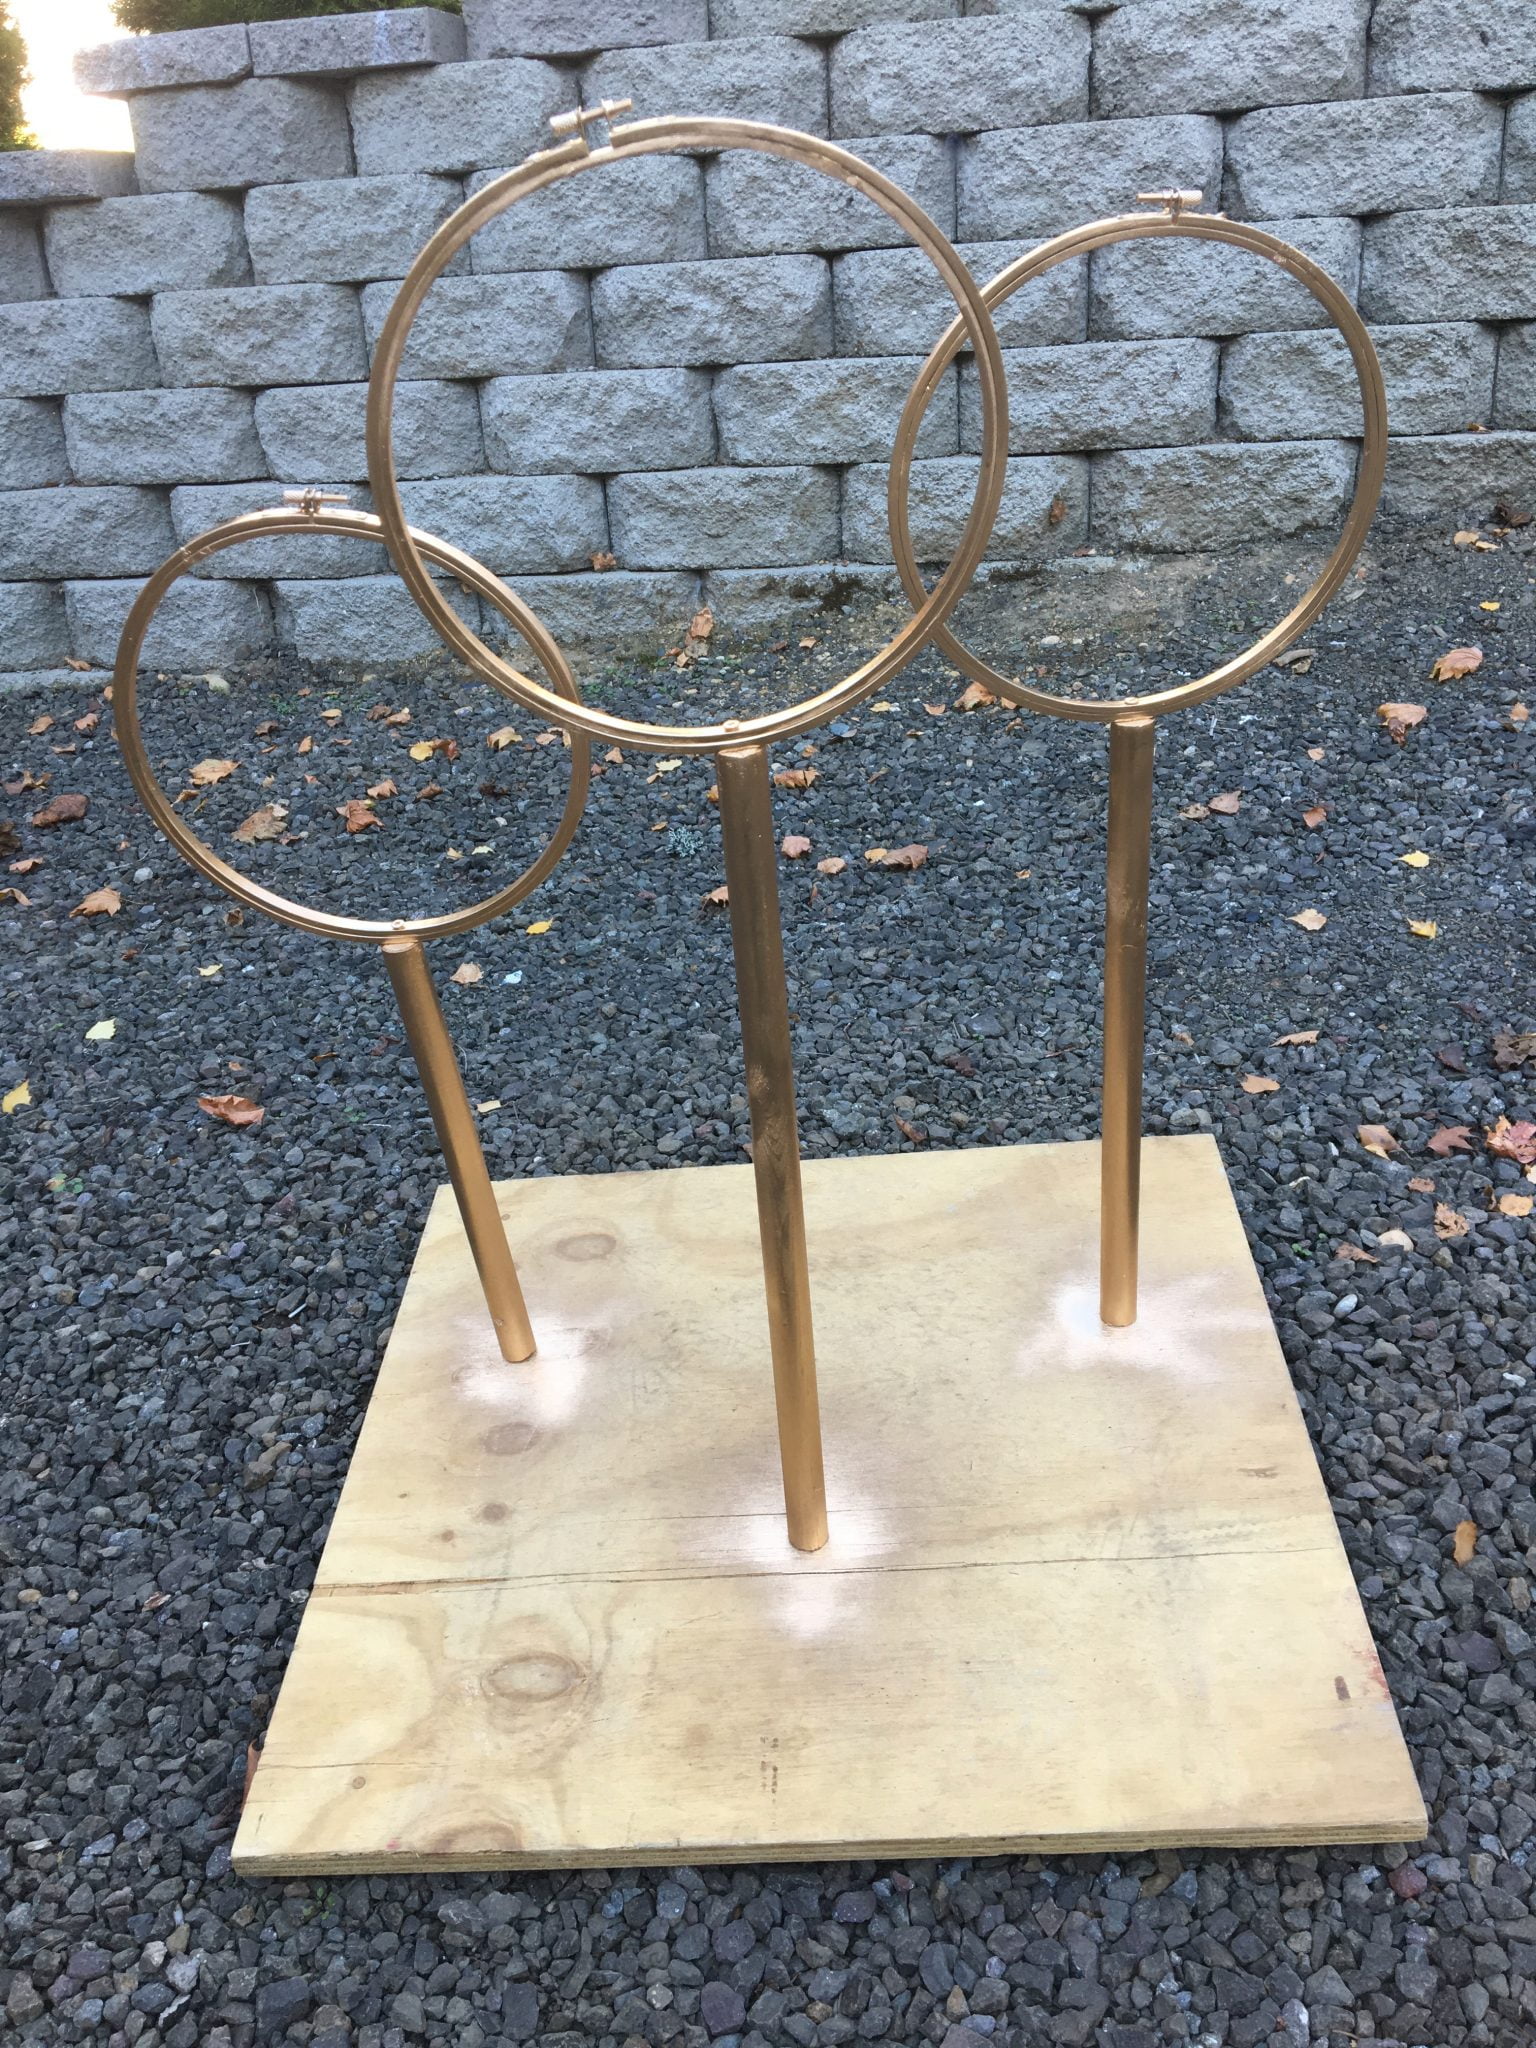
Easy DIY Quidditch Goals using wooden dowels and embroidery hoops. Perfect for a Trunk or Treat and a backyard family game.
Supplies Needed
- 3 – 1″ Wooden Dowels
- 3 – 10″ Embroidery Hoops
- 6 Screws
- Wooden Board for Base
- Gold Spray Paint
Tools Needed
- Power Drill
- Drill bits
- Driving Bits / Screwdriver
- Hack Saw
- Measuring Tape
For Halloween this year, my family took part in our first Trunk or Treat. After a pretty short discussion, the family decided to do a Harry Potter inspired Quidditch game in our trunk. I looked on Pinterest for some ideas but couldn’t find exactly what I was thinking. There are backyard and table top Quidditch game ideas but none for Trunk or Treat. So, I took that inspiration and fit them into my trunk.
Measuring and Prepping the Pieces
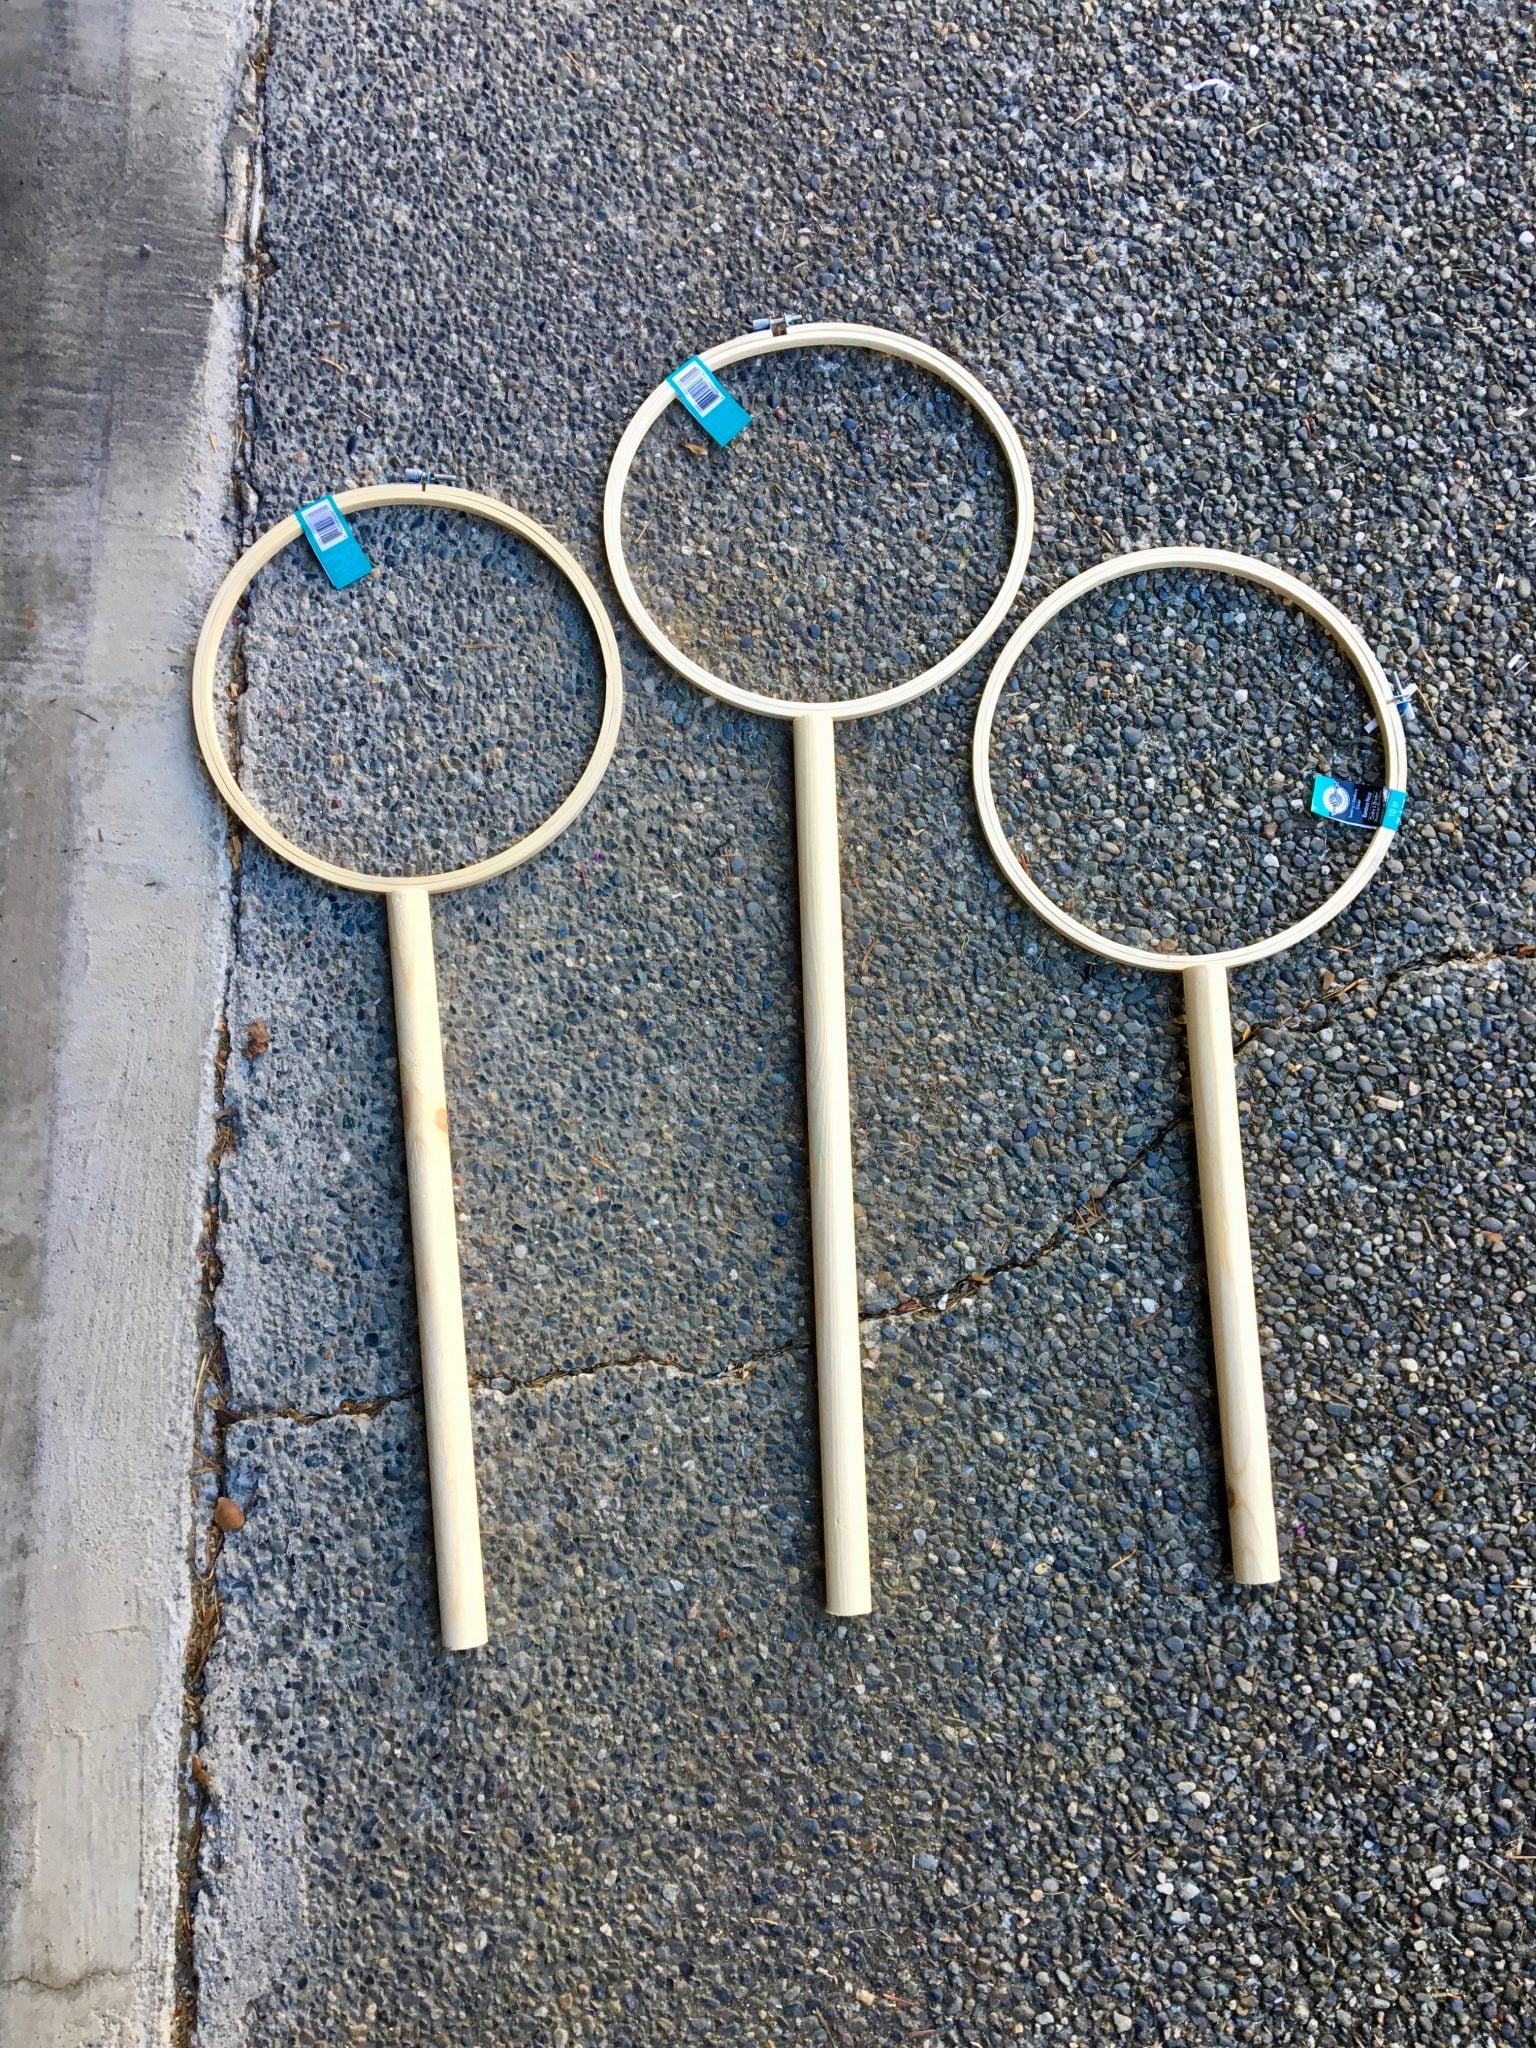
These DIY Quidditch Goals come together quickly. I think it took me about 30 min. First, I had to decide how tall the tallest goal could be by measuring inside the back of my car. I wanted the 3 quidditch goals staggered for more interest, so I laid my pieces on the ground until I got the look I wanted. My dowel measurements are:
– Tallest: 21″ long
– Middle: 17.5″ long
– Shortest: 14″ long
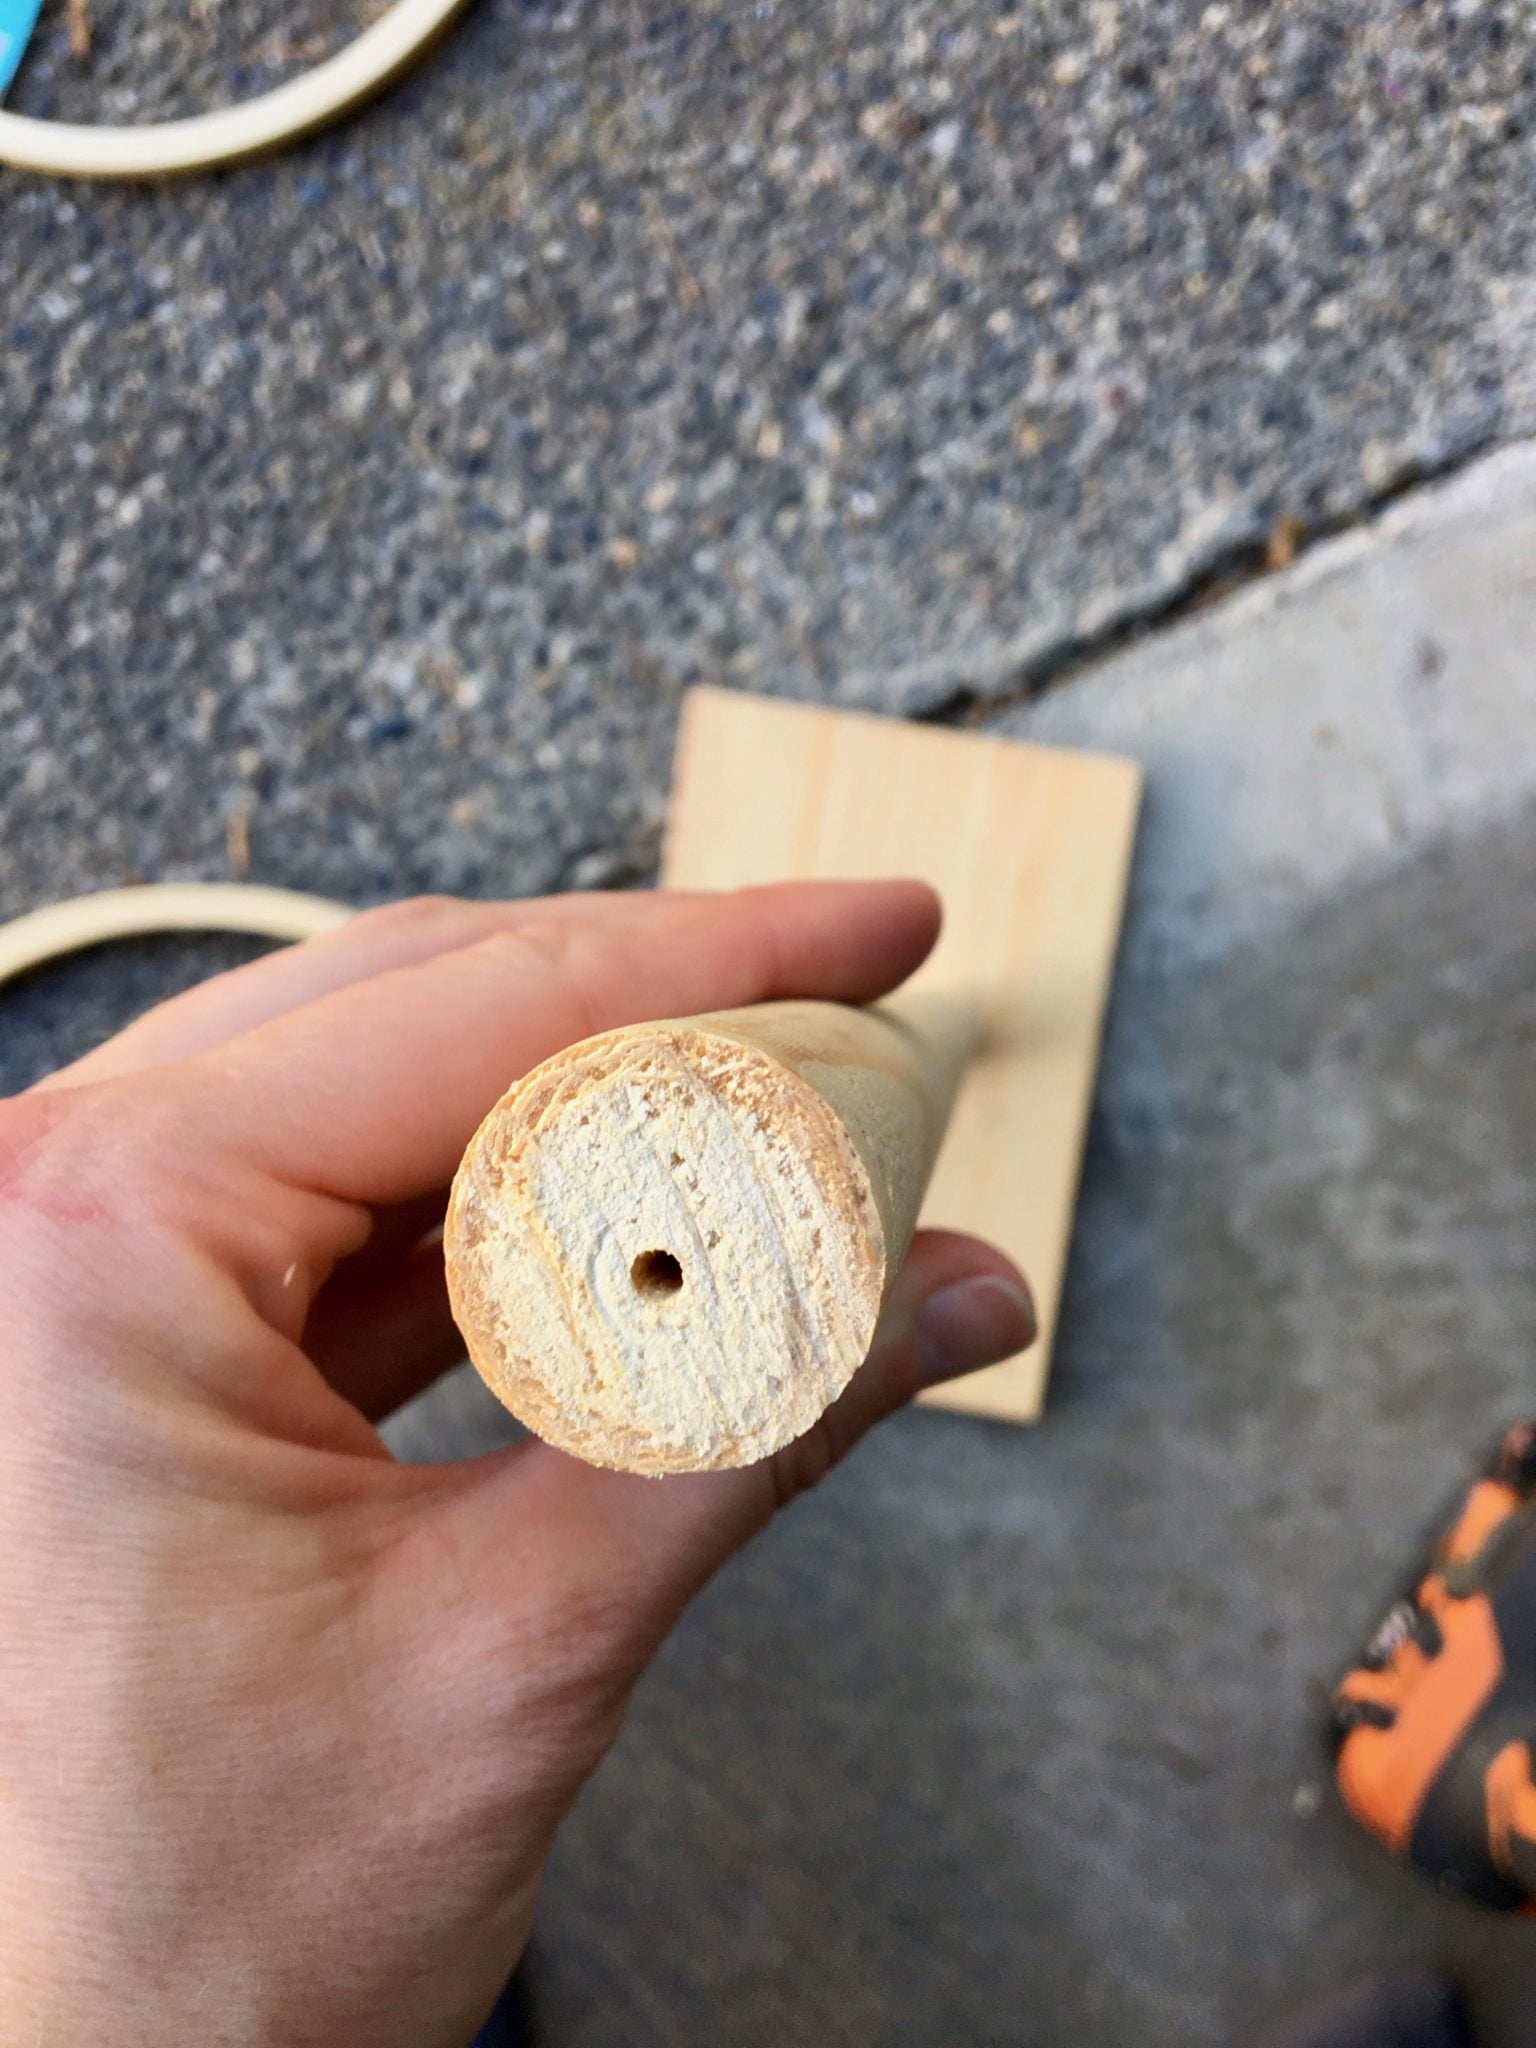
I cut my dowels with the hack saw. Next, I pre-drilled both ends of the dowels (with a drill bit slightly smaller in diameter that the screws) so that the dowels wouldn’t split when I screwed them together with the other pieces.

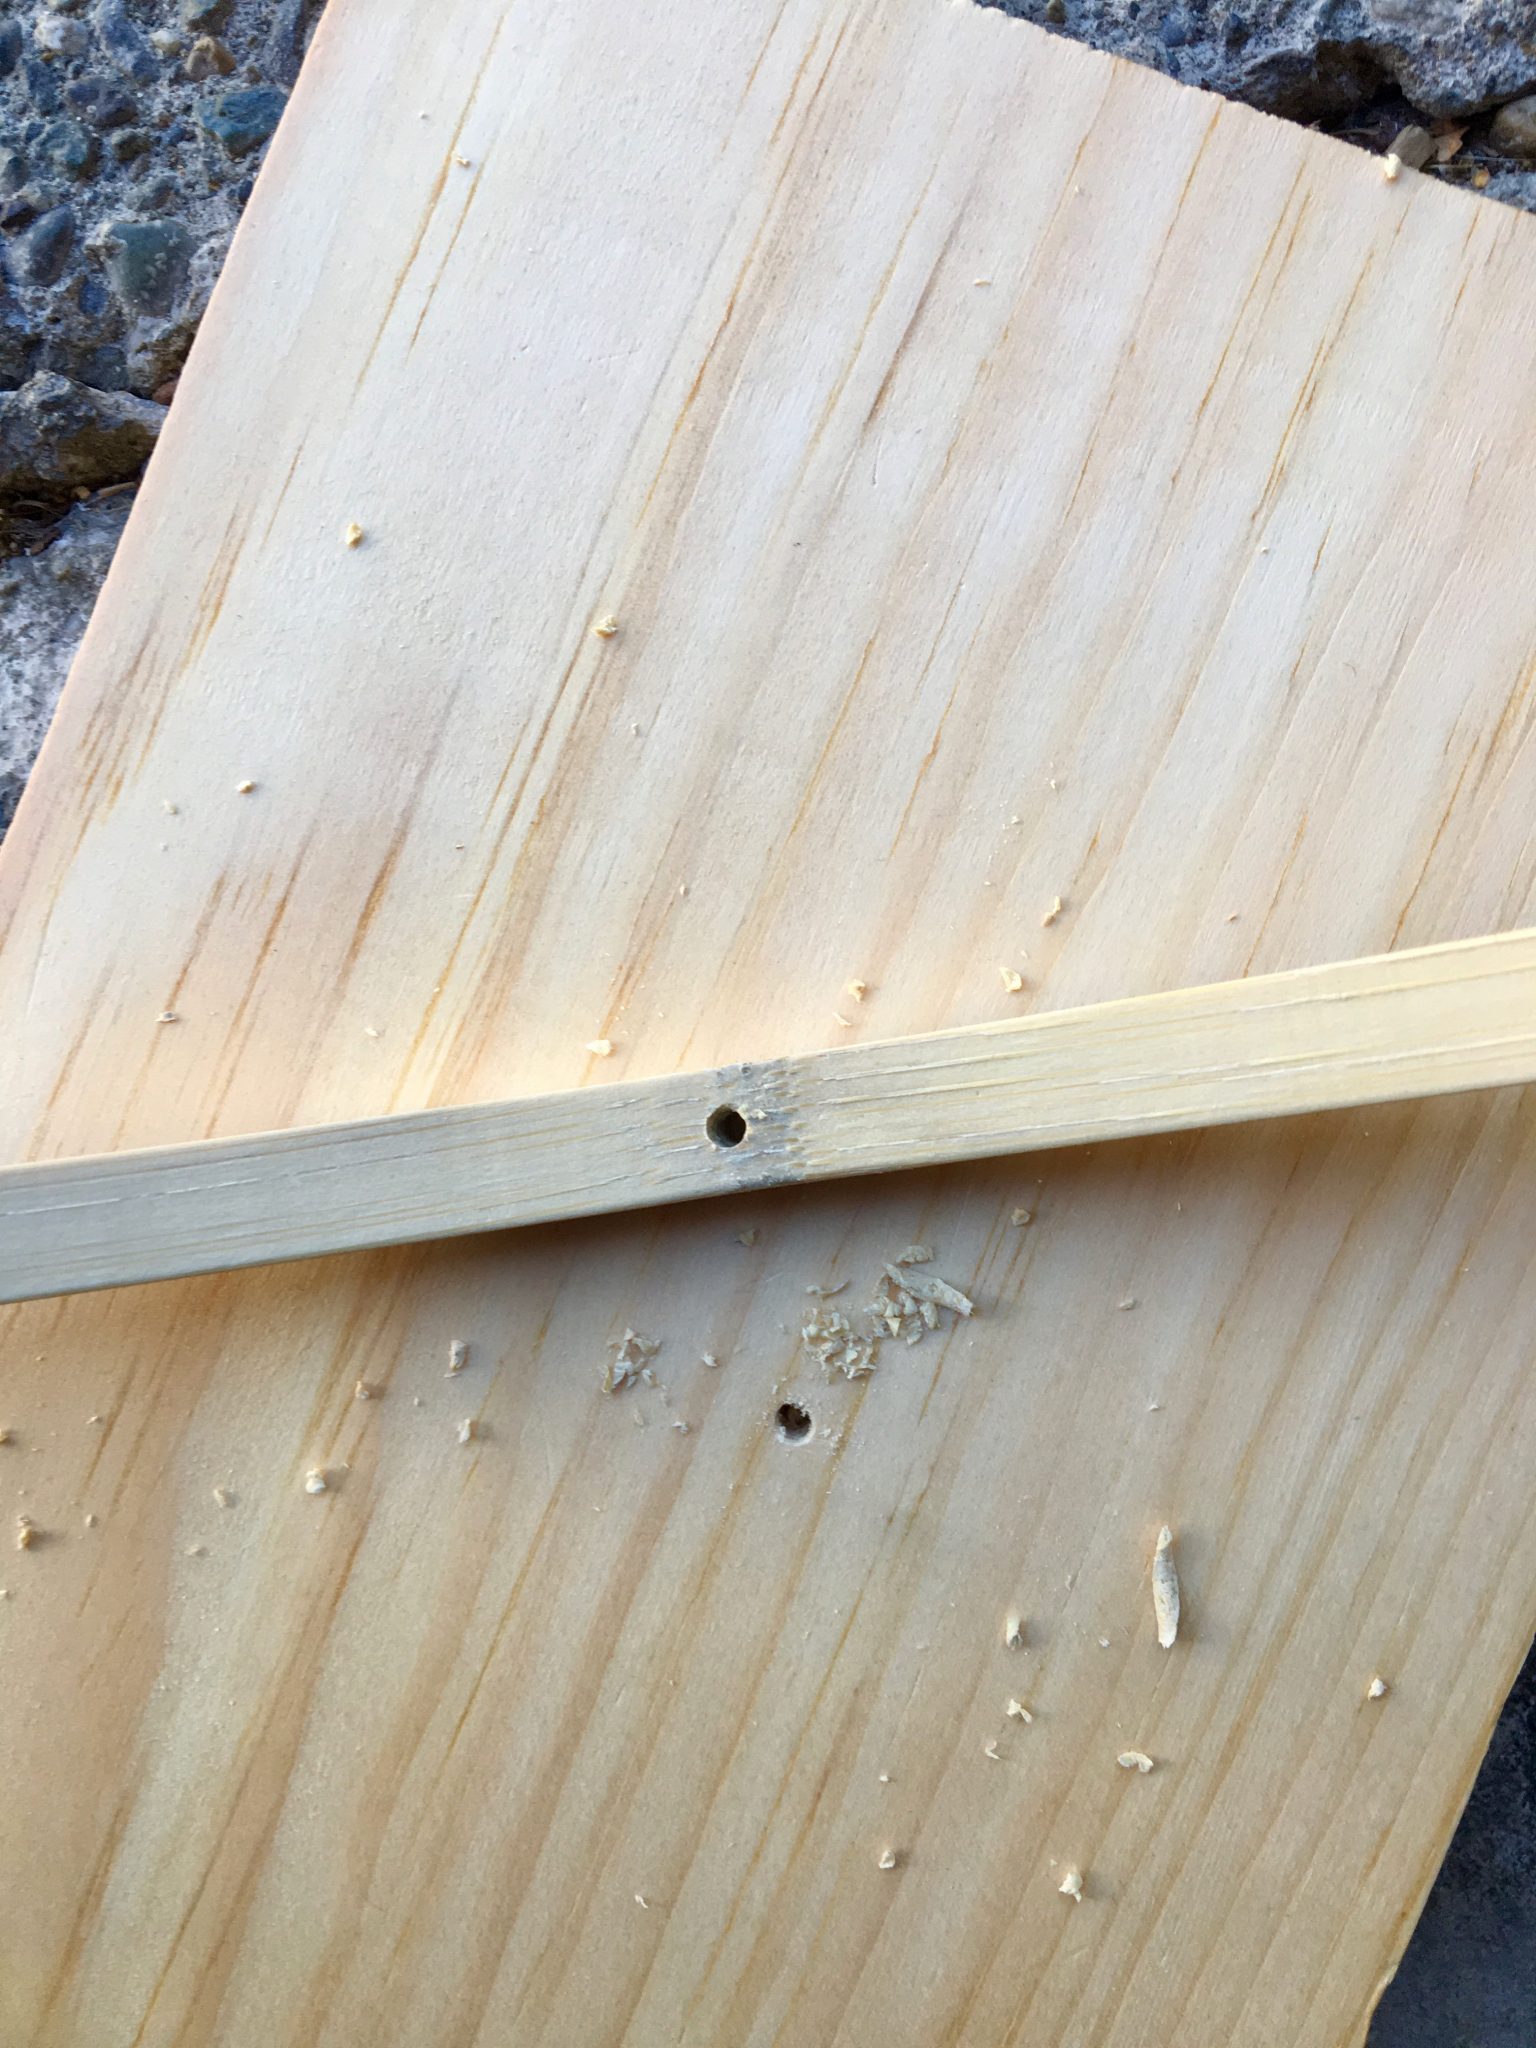
The third step was to pre-drill the embroidery hoops. I placed a spare board under the hoops while drilling, allowing me to drill all the way through.
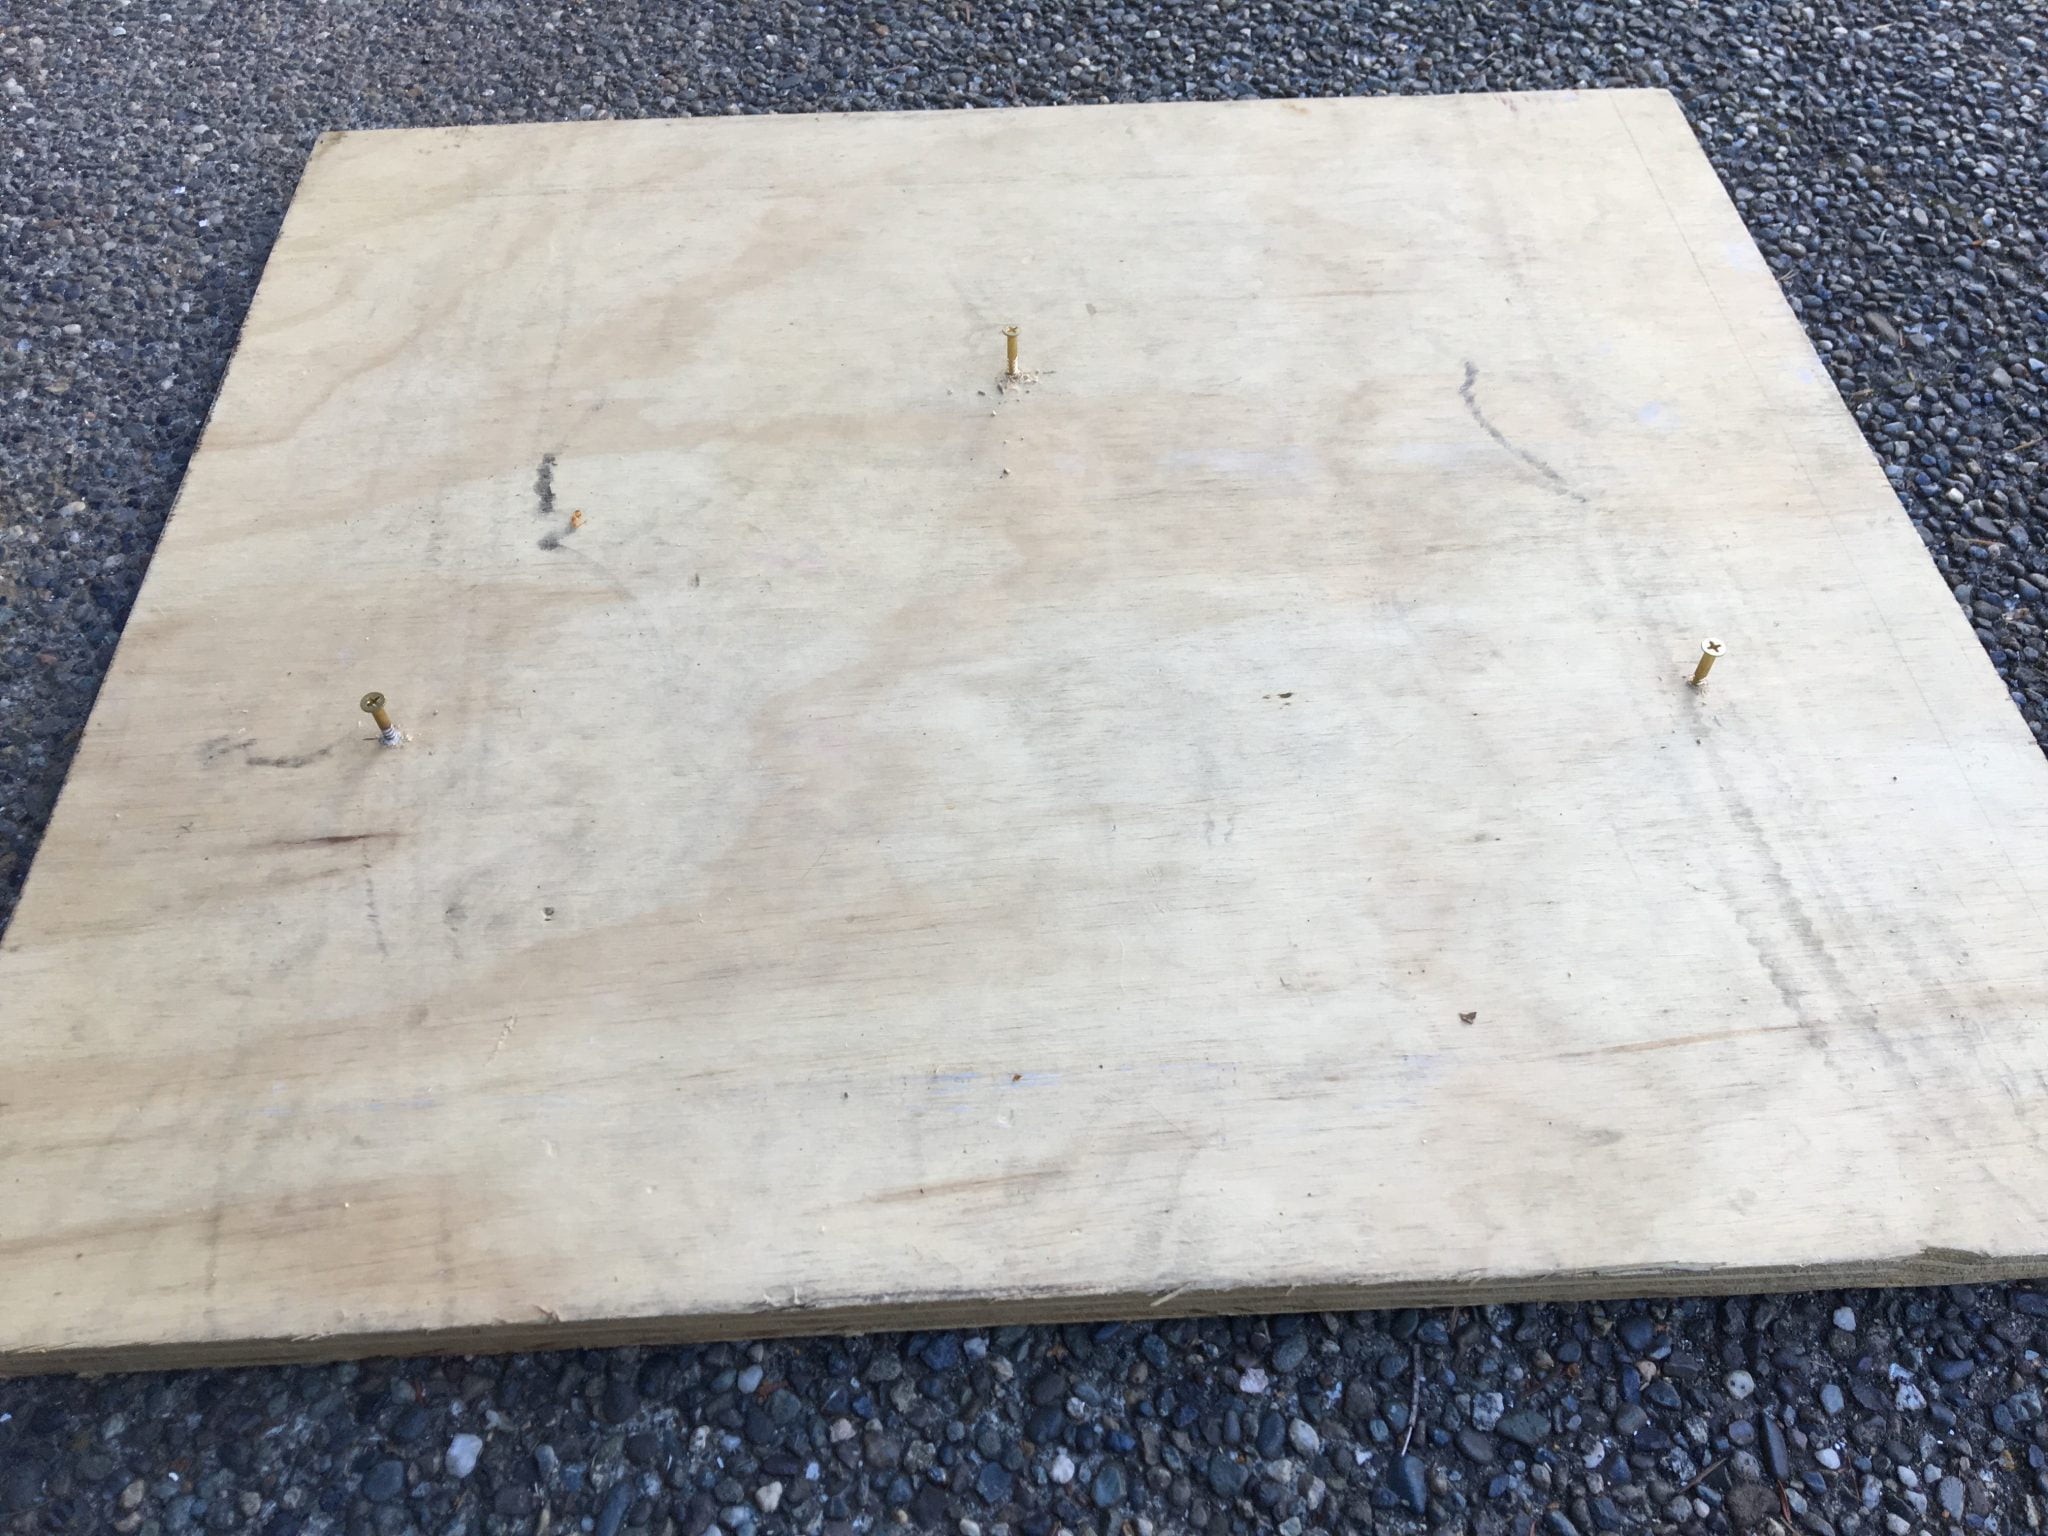
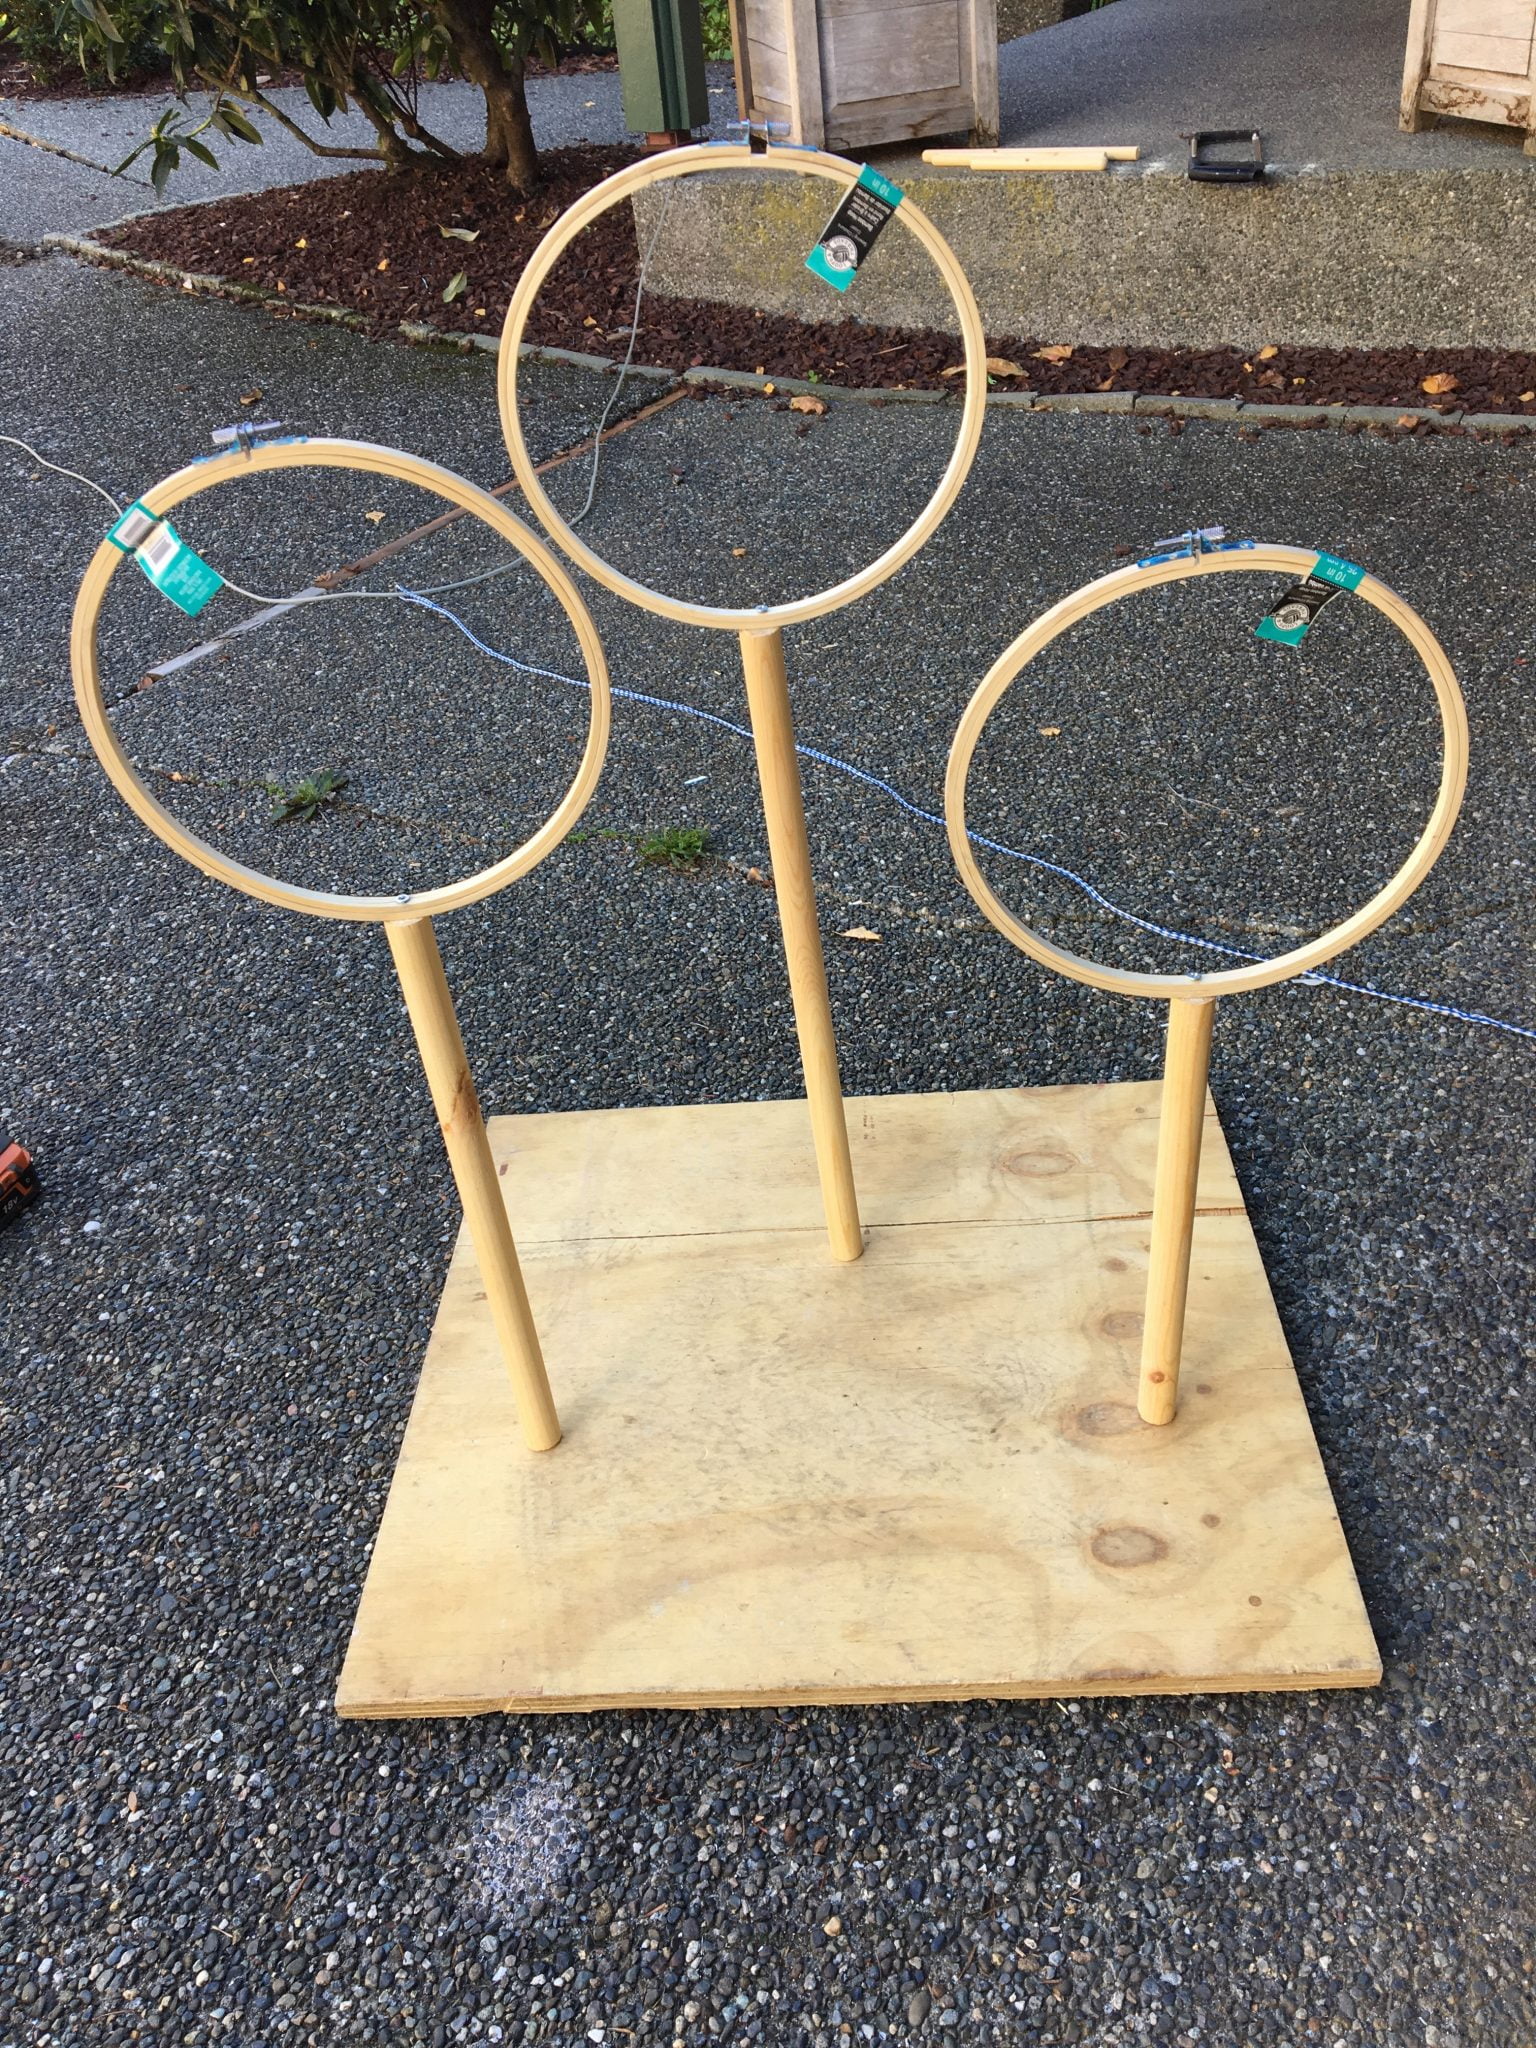
Next, I measured and pre-drilled my wooden base. This is an extra piece of wood I grabbed from our shed. It’s 25″ by 23″. My goal was to keep the cost down by using materials I already had, so use whatever size board you have. The first picture above shows you my placement of each quidditch goal. The tallest goal is centered on the board at 12.5″ and is 8″ from the bottom. The other two goals are 4″ from their respective sides and 8″ from the top. After pre-drilling the holes, I got all the screws started in the base (second picture). Since I didn’t have any helpers while working on this project, getting the screws started in the base made it easier to hold everything by myself.
Putting the Quidditch Goals Together!!
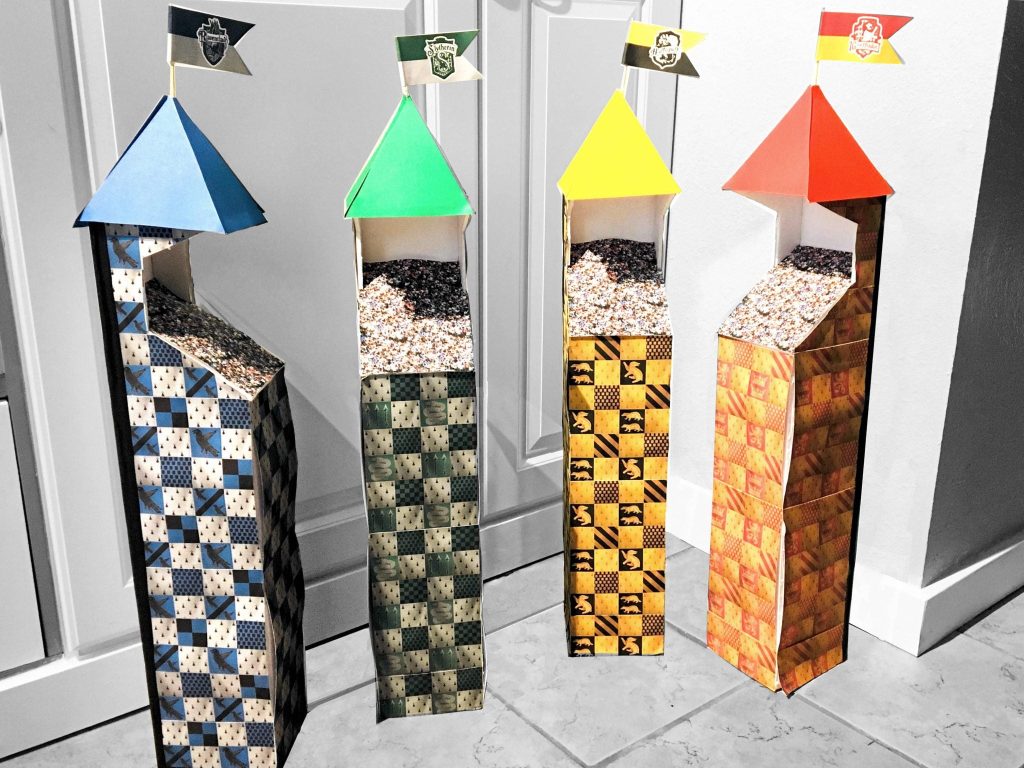
Finally, I screwed the dowels to the board, the embroidery hoops to the dowels, and spray painted my goals gold. In the trunk, I covered the wooden base, so I didn’t paint that part. The goals fit great in my trunk but are also a nice tabletop size. I might be using this for a backyard party in the future. You can also check out how I made DIY Quidditch Pitch Viewing Stands.

Save and Share this Project!! Click Here to Pin!!


